Creating a raised bed: Where, When, How?
A raised bed makes gardening easier for young and old. Before you actually create a raised bed, there are a number of questions you should ask yourself. With a few simple tricks, you will not only enjoy bountiful harvests. Targeted considerations about location and filling can also make managing the raised bed particularly efficient. Get the most important tips for the start of the 2023 season now!
What is the optimal location for my raised bed?
Ideally, the raised bed should be in a place where the plants can get enough sunlight. However, it is not necessary that the location is directly illuminated by the sun from early in the morning until late at night – even if the raised bed If the garden is in the shade for a third of the day, you will be able to enjoy a rich harvest. But it is not only the plants that are the focus of the perfect location, as a gardener you also want it to be as practical as possible. When creating the raised bed Therefore, make sure that it is easily accessible. It is also advisable to have a water source nearby. This makes manual watering easier as the distances are short. Even if you want to use irrigation systems such as spray irrigation or drip irrigation, you can save yourself the trouble of laying a long hose if you plan well in advance where you will create your raised bed.
What are the right dimensions for my raised bed?
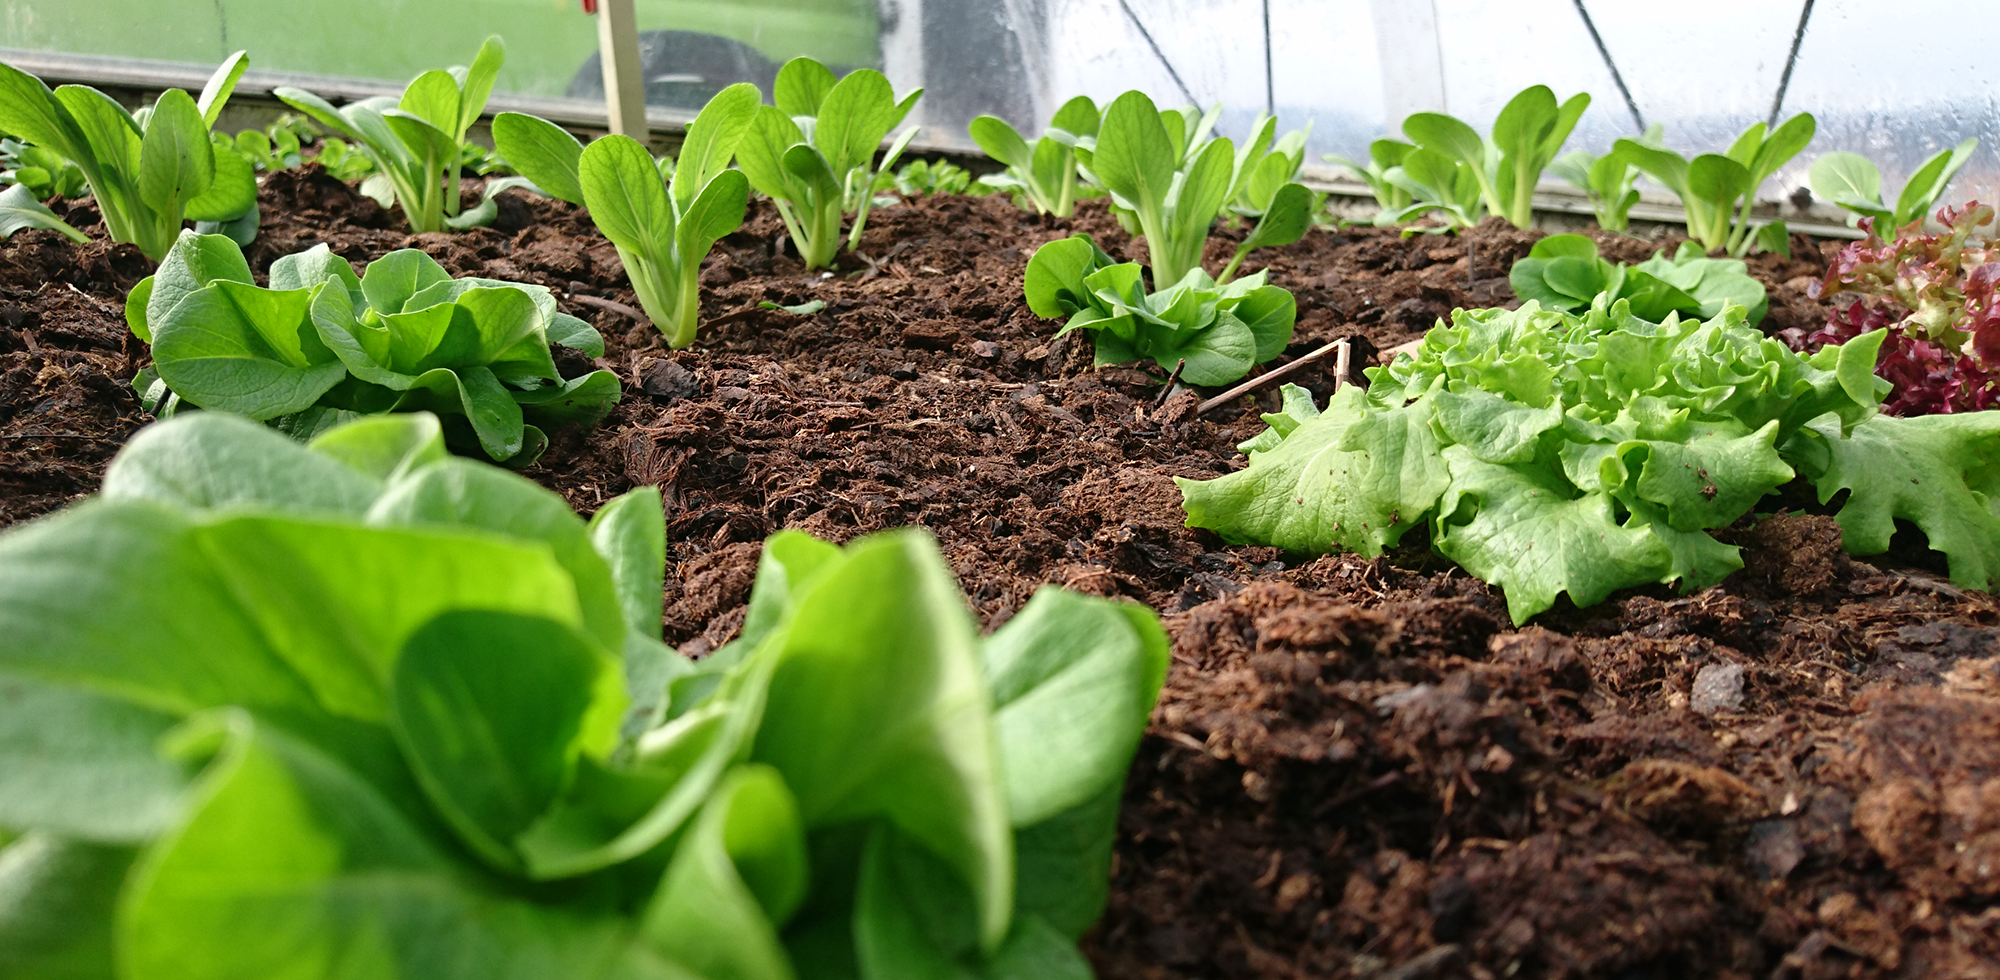
When creating a raised bed Of course, the right height and size are also important. The raised bed is approximately at the right height when the upper edge is at the height of your pool. If several people with very different heights want to take part in the cultivation, it can be useful to have two different raised beds of different heights. This way, everyone can work without putting strain on their backs. The size of the cultivation area should be based on the number of people who are to be supplied with the harvest.
When should I create my raised bed?
Ideally, a raised bed for use from the following spring onwards. The filling of the raised bed but can also happen just before planting. What are the advantages of filling in the fall?
- Filling can settle over the winter
- Sufficient garden waste available
- Longer composting of the contents
If there is only a short time gap between the laying of the seedlings and the planting of small seedlings, young roots may be damaged and the growth of the plants may not be undisturbed.
The raised bed Creating a garden bed in autumn also has the advantage that there is usually more than enough suitable garden waste in your own garden that can be used as filling material for the layers of the raised bed In this way, you can continue to utilize the natural nutrients in your garden.
Over the winter, the natural rotting processes inside the raised bed can already get started. This means that a particularly nutrient-rich environment is already available for the plants when they are planted.
How do I create a raised bed?
It is important to first ensure that the raised bed is placed on a flat surface. The subsurface should have as little incline as possible so that the filling does not settle on one side over time. However, a slight incline of the floor is not a problem.
Whether you raised bed Whether you place them directly on the ground (for example in an existing bed) or on a stone surface, such as a terrace, is up to your taste and the possibilities of your garden. Both are possible without any problem. Raised beds also look good on a bed of gravel.
When creating the raised bed on soil, you should pay particular attention to protection against pests. First of all, it is therefore recommended to attach a vole grid and/or a mole cricket grid to the bottom of the raised bed. If you prefer a stone base or a terrace, the stone forms a natural barrier against intruders from below and there is no need to attach a protective grid. The raised bed is also often set up on exposed aggregate concrete slabs. These offer gardeners a firm footing around the raised bed, but do not completely isolate the interior from the soil. In this case, we again recommend attaching a protective grid.
After assembling and setting up the raised bed it is time for proper filling. How exactly this is done, read our article on the right raised bed